Introduction and Key Insights
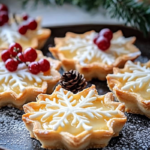
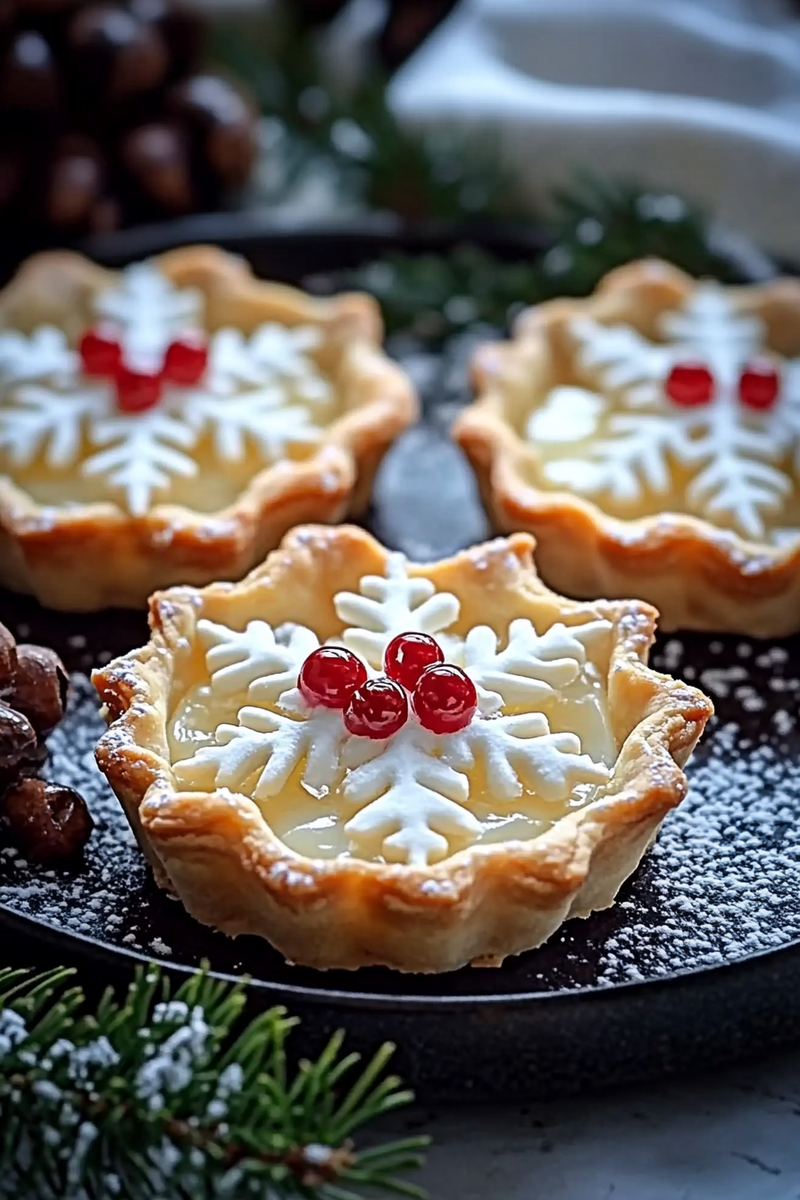
Are you looking for an exquisite appetizer that dazzles both the eyes and taste buds? Look no further than snowflake tartlets with goat cheese. This delectable dish combines the flaky texture of pastry with the rich creaminess of goat cheese, making it an impressive addition to any gathering. Whether you’re hosting a chic dinner party or a casual get-together, these elegant tartlets are sure to be the star of the show.

The beauty of snowflake tartlets lies not only in their stunning presentation but also in their versatility. You can customize the fillings to suit your palate or dietary preferences. The delightful combination of flavors and textures creates a memorable experience for your guests. Plus, they are surprisingly easy to prepare! In this article, we will guide you through every step required to create these charming pastries.
From selecting the right ingredients to mastering the preparation process, we ensure that you have all the tools and knowledge necessary to make perfect snowflake tartlets with goat cheese. So roll up your sleeves and get ready to impress everyone with these delightful bites!
Ingredients Overview for Snowflake Tartlets with Goat Cheese
Puff Pastry
Puff pastry serves as the foundation for our snowflake tartlets. You will need about 1 sheet (approximately 250 grams) of store-bought puff pastry. This flaky pastry is known for its ability to rise beautifully during baking due to layers of butter folded into the dough. It provides a light yet buttery base that complements the richness of goat cheese perfectly.
Goat Cheese
For this recipe, use 200 grams of soft goat cheese. The creaminess of goat cheese adds depth and flavor to each bite. Its tangy notes contrast beautifully with sweet or savory toppings you might choose to add later. If you’re feeling adventurous, consider using flavored goat cheese varieties like herb-infused or honey-drizzled options for an extra punch.
Fresh Herbs
A mix of fresh herbs such as thyme and rosemary enhances the flavor profile of your tartlets. Use about 2 tablespoons finely chopped herbs for this recipe. These herbs not only add freshness but also lend an aromatic quality that elevates your dish further.
Eggs
You will need one large egg for an egg wash that gives your tartlets a golden-brown finish when baked. The egg wash also helps seal edges when assembling your tartlets, ensuring they hold together nicely during baking.
Honey
A drizzle of honey (approximately 1 tablespoon) balances out the tanginess of goat cheese and adds a touch of sweetness. Honey integrates wonderfully into savory dishes and can also serve as a glaze on top before serving.

How to Prepare Snowflake Tartlets with Goat Cheese
Step 1: Prepping Your Puff Pastry
Begin by preheating your oven to 200 degrees Celsius (about 400 degrees Fahrenheit). While it heats up, take your sheet of puff pastry out from the fridge and allow it to thaw slightly if frozen. On a lightly floured surface, roll out the puff pastry until it’s about ¼ inch thick. Using a sharp knife or pizza cutter, cut the pastry into shapes resembling flowers or snowflakes—about 2-3 inches in diameter works well.
Once cut, transfer these shapes onto a lined baking tray while ensuring they have enough space between them since they will expand while baking. Use a fork to prick small holes in each piece; this prevents excessive rising in certain areas which could distort their shape.
Step 2: Preparing Filling Mixture
In a mixing bowl, combine your softened goat cheese along with finely chopped fresh herbs—like thyme and rosemary—and honey. Make sure everything is well incorporated; this mixture should be smooth yet retain some texture from the herbs.
Using a spoon or spatula, evenly distribute about one tablespoon of this filling onto each pastry shape you’ve prepared earlier. Remember not to overfill them; otherwise, they may spill over during baking!
Step 3: Applying Egg Wash
Crack one large egg into another bowl and whisk it thoroughly until combined—this becomes our egg wash! Using either a brush or simply dipping your finger into the mixture gently coat the edges around each filled puff pastry shape carefully; this will create that lovely golden crust when baked.
Step 4: Baking Your Tartlets
Place your tray in the preheated oven and bake for approximately 15-20 minutes or until golden brown on top! Keep an eye on them toward the end; every oven varies slightly regarding heat distribution so check periodically after about 12 minutes just in case!
Once baked perfectly golden-brown remove them from heat allowing them some time cooling on wire racks before serving!
Serving and Storing Tips
Serving Suggestions
These snowflake tartlets with goat cheese make an excellent appetizer for almost any event! Serve them warm straight from the oven topped off with additional drizzles of honey if desired along with fresh herb garnishes! Pairing these delightful bites alongside sparkling drinks like prosecco or cocktails can elevate any gathering’s atmosphere significantly!
Consider creating themed platters by adding complementary items such as olives or marinated vegetables alongside these lovely pastries; doing so creates visual interest while providing guests various flavors!
Storage Guidelines
If you find yourself with leftovers—though we doubt there will be many!—store them properly by placing cooled tartlets inside an airtight container lined between layers of parchment paper so they don’t stick together! They can last up to two days in refrigeration without losing texture too much but reheating them briefly before serving again would restore crispness perfectly!
For longer storage solutions consider freezing unbaked filled pastries instead! Lay them flat onto trays until solid then transfer into zip-top bags where they’ll keep nicely up until three months without losing quality at all! Simply bake straight from frozen without defrosting first whenever cravings strike again!
By following these guidelines closely you’ll ensure that every last bite remains delightful long after initial preparation—making it easier than ever enjoying scrumptious snowflake tarts whenever desired!
Mistakes to avoid
When preparing Snowflake Tartlets with Goat Cheese, it’s crucial to steer clear of common pitfalls that can detract from the final dish. One significant mistake is not properly pre-baking the tartlet shells. If you skip this step, you risk ending up with soggy bottoms, which can ruin the texture and overall appeal of your tartlets. Make sure to follow the recommended baking time and temperature for optimal results.
Another frequent error is overloading the filling. While it’s tempting to pack in as much goat cheese and other ingredients as possible, too much filling can cause the tartlets to overflow during baking. This not only creates a mess but also affects the cooking time, leaving some areas undercooked. Aim for a balanced amount of filling that complements the shell without spilling over.
Additionally, neglecting seasoning can lead to bland flavors. Goat cheese is delicious on its own but can benefit from added herbs and spices. Failing to season adequately will leave your tartlets tasting flat. Consider incorporating fresh herbs like thyme or dill to enhance the flavor profile.
Lastly, using low-quality ingredients may seem like a cost-saving measure initially but can significantly impact taste and presentation. Always choose fresh, high-quality goat cheese and premium pastry for the best outcomes. This small investment pays off in flavor and visual appeal, making your Snowflake Tartlets truly shine.
Tips and tricks
Creating perfect Snowflake Tartlets with Goat Cheese requires attention to detail and a few handy tips. First and foremost, chill your pastry dough before rolling it out. Cold dough is easier to work with and helps maintain its shape during baking. Allowing it to rest in the refrigerator for at least 30 minutes ensures that your tart shells will hold their structure perfectly.
Another useful trick is to use a food processor for mixing your pastry dough. This method allows for quick blending without overworking the dough, which can lead to tough tart shells. Pulse until just combined; this keeps your pastry light and flaky.
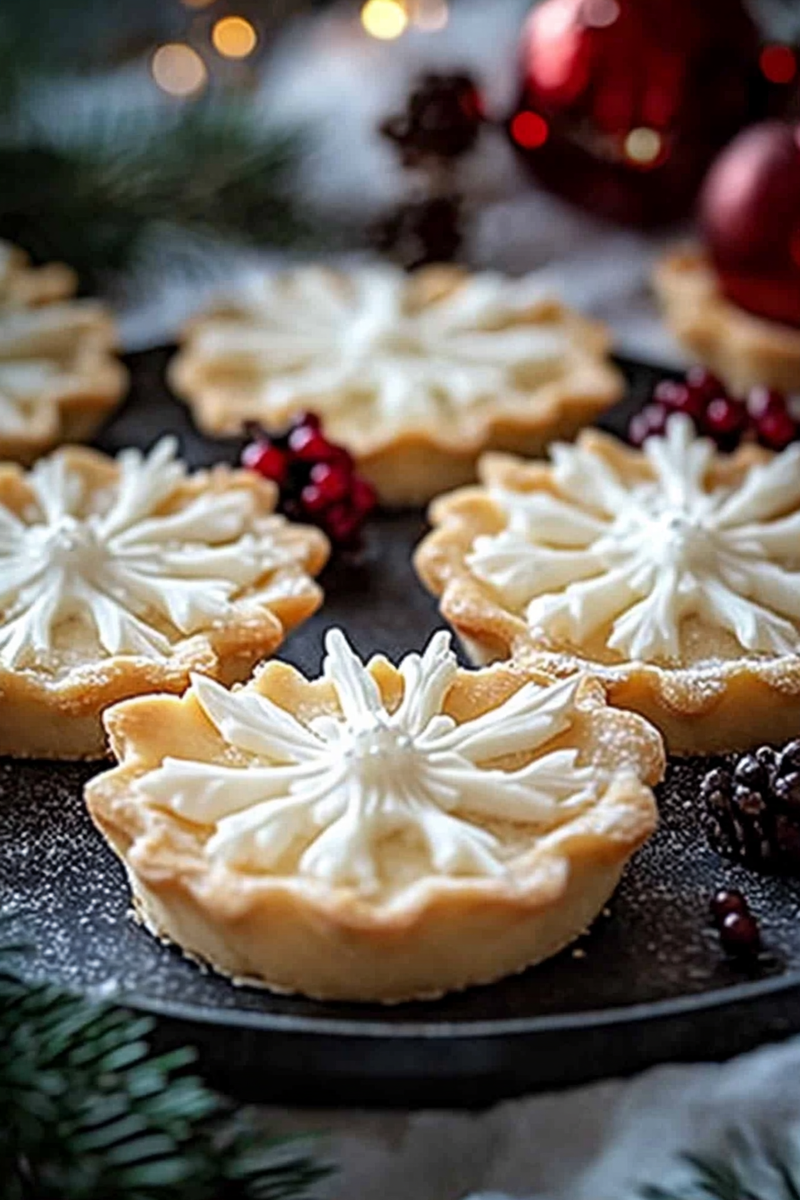
In terms of presentation, use cookie cutters with fun shapes when cutting out your pastry dough. This adds a whimsical touch that makes your Snowflake Tartlets visually appealing. You can also sprinkle some extra goat cheese or herbs on top before serving; this enhances both flavor and aesthetics.
Don’t forget about proper cooling! After baking, let your tartlets cool in their molds for a few minutes before transferring them to a wire rack. This prevents breakage while ensuring they maintain their crispiness as they cool down.
Finally, if you’re looking for variety in flavors, consider adding seasonal ingredients such as roasted vegetables or fruits like figs or pears into your filling mix. These additions create delightful combinations that elevate traditional recipes into gourmet experiences.
Suggestions for Snowflake Tartlets with Goat Cheese
To ensure your Snowflake Tartlets with Goat Cheese reach their full potential, consider these suggestions. First, experiment with different types of goat cheese. Varieties such as herb-infused or aged goat cheese offer unique flavor profiles that can enhance your dish tremendously. Each type brings its own character and can transform a simple recipe into something extraordinary.
Another suggestion is to pair tartlets with complementary sides or dips. A light salad dressed with vinaigrette or a fruit chutney pairs beautifully alongside these dishes, balancing richness with freshness on the plate.
Utilizing seasonal ingredients not only enhances flavor but also supports local farmers and markets during various times of the year. For example, adding roasted butternut squash in fall brings warmth and sweetness while incorporating fresh greens in spring adds vibrant color.
Make sure you serve them warm! Warm tartlets provide an inviting aroma that tantalizes guests’ taste buds even before they take their first bite. Serve immediately after baking for the best experience.
Lastly, consider portion sizes when serving at gatherings; smaller tartlet sizes allow guests to sample a variety of flavors without becoming overwhelmed by fullness—this encourages mingling around the food table!

FAQs
How do I store leftover Snowflake Tartlets with Goat Cheese?
Storing leftover Snowflake Tartlets correctly ensures they remain delicious for later enjoyment. Allow them to cool completely before placing them in an airtight container; this prevents moisture buildup that could make them soggy over time. If you plan on keeping them longer than a day or two, consider freezing them instead! Wrap each cooled tartlet tightly in plastic wrap followed by aluminum foil before placing them in a freezer-safe bag or container—this preserves freshness for up to three months.
When you’re ready to enjoy them again, thaw overnight in the refrigerator before reheating them briefly in an oven set at 350°F (175°C) until warmed through—this will help retain their crispy texture!
Can I use other cheeses instead of goat cheese?
While goat cheese defines these Snowflake Tartlets’ signature flavor profile, feel free to explore alternatives based on personal preference! Cream cheese provides creaminess akin to that of goat cheese but lacks tanginess; sharp cheddar offers robust flavor notes while mozzarella delivers stretchiness perfect for savory bites—consider mixing different varieties together for complex layers!
However, remember that substituting may alter overall taste so adjust seasonings accordingly!
What are some good toppings for my Snowflake Tartlets?
Toppings play an essential role in enhancing visual appeal as well as introducing new layers of flavor! For savory options atop your Snowflake Tartlets try drizzling honey balsamic reduction over finished products which adds sweet acidity; sprinkle roasted nuts like walnuts or pecans provides crunch along with delicate microgreens elevates presentation further while infusing freshness into every bite!
If you prefer sweet toppings opt for thin slices of ripe figs or pears drizzled lightly with honey; this combination balances richness beautifully creating unforgettable culinary experiences!
Can I make the pastry dough ahead of time?
Absolutely! Preparing pastry dough ahead saves time when assembling later on—simply wrap it tightly in plastic wrap then refrigerate until ready-to-use (best used within two days). For longer storage freeze it instead! When ready simply thaw overnight prior rolling out & shaping into sweet treats—this will streamline preparations during busy events without sacrificing quality!
What is the best way to reheat my tartlets?
To retain crispiness while reheating Snowflake Tartlets preheat oven at 350°F (175°C) then place cooled tartlet(s) directly onto baking sheet lined parchment paper allowing even heat distribution across surfaces without compromising textures! Bake approximately 10-15 minutes depending on size—check frequently ensuring not overheat which might lead soggy crusts ruining original delights enjoyed earlier!
Can I customize my filling mixture?
Definitely! Customizing fillings allows creativity shine through personal tastes—beyond traditional blends feel free add sautéed veggies like spinach & artichokes enhanced flavors further alongside nuts & seeds introduce delightful crunches throughout each bite equally satisfying all palates present around dining tables alike!
Explore regional spices ranging from Italian herbs mixed Mediterranean-style sun-dried tomatoes offer unique twists ensuring more enjoyable experiences every gathering shared among family friends alike!
Conclusion
In summary, crafting delectable Snowflake Tartlets with Goat Cheese involves avoiding key mistakes such as improper pre-baking techniques and neglecting seasoning while incorporating clever tips like using chilled dough and quality ingredients elevates final results tremendously! Suggestions like trying different cheeses or pairing sides provide endless possibilities making this dish versatile enough suit any occasion whether casual get-togethers formal events alike! By following these guidelines carefully along with answering common questions surrounding preparation storage methods re-heating techniques ensure success every step way leading ultimately satisfying culinary adventures shared loved ones around tables enjoying delicious moments created together through food artistry brought life wonderfully presented mouthwatering treats!
PrintSnowflake Tartlets with Goat Cheese
These Snowflake Tartlets with Goat Cheese are a stunning and savory appetizer, perfect for your holiday gatherings or any special occasion. The delicate, flaky pastry is paired with the creamy tang of goat cheese and finished with a sprinkle of fresh herbs and seasonal toppings like pomegranate seeds or walnuts for a festive touch. These mini tartlets are easy to make and look beautiful on any appetizer platter, making them a show-stopping starter for your next celebration.
- Prep Time: 20 minutes
- Cook Time: 12 minutes
- Total Time: 32 minutes
- Yield: 12 mini tartlets 1x
- Category: Appetizer
- Method: Baking
- Cuisine: European, Mediterranean
- Diet: Vegetarian
Ingredients
For the Tartlet Crust:
- 1 sheet puff pastry (store-bought or homemade)
- 1 egg (for egg wash)
- 1 tablespoon flour (for dusting)
For the Goat Cheese Filling:
- 4 oz goat cheese, softened
- 2 oz cream cheese, softened
- 1 tablespoon fresh thyme leaves (or 1 teaspoon dried thyme)
- 1 tablespoon honey (optional, for sweetness)
- 1 teaspoon lemon zest
- Salt and pepper, to taste
For Garnish (optional):
- Pomegranate seeds
- Chopped walnuts or pecans
- Fresh thyme sprigs
- Drizzle of honey or balsamic reduction
Instructions
- Prepare the Puff Pastry: Preheat your oven to 375°F (190°C). Roll out the puff pastry sheet on a lightly floured surface. Using a snowflake-shaped cookie cutter (or any preferred shape), cut out mini tartlet shapes. You can also use a round cutter and cut out circles to fit into mini muffin tins.
- Bake the Tartlet Shells: Place the pastry shapes onto a baking sheet lined with parchment paper. Use a fork to lightly score the edges of each tartlet (this helps the edges puff up nicely). Brush each pastry with a thin layer of beaten egg for a golden finish. Bake for 10-12 minutes or until the pastry is golden and puffed. Allow to cool slightly.
- Prepare the Goat Cheese Filling: In a small bowl, combine softened goat cheese, cream cheese, fresh thyme, lemon zest, and honey (if using). Mix until smooth and creamy. Taste and season with salt and pepper as needed.
- Assemble the Tartlets: Once the puff pastry shells have cooled, spoon a generous amount of goat cheese mixture into the center of each tartlet. Spread it evenly, leaving a small border of pastry around the edges.
- Garnish and Serve: Top the tartlets with seasonal garnishes such as pomegranate seeds, chopped walnuts, fresh thyme sprigs, or a drizzle of honey or balsamic reduction for extra flavor and visual appeal.
- Serve: Serve these elegant Snowflake Tartlets with Goat Cheese immediately or chill until ready to serve.
Notes
- Substitutions: If you prefer a milder cheese, you can substitute the goat cheese with cream cheese or ricotta.
- Make-Ahead: The tartlet shells can be baked in advance and stored in an airtight container for up to 2 days. Fill them with the goat cheese mixture and garnish just before serving.
- Seasonal Variations: For an extra burst of flavor, top the tartlets with caramelized onions, roasted beetroot, or even a small slice of smoked salmon.
- Serving Suggestions: These tartlets pair beautifully with a crisp white wine, such as Sauvignon Blanc or a sparkling Prosecco.
Keywords: Snowflake Tartlets with Goat Cheese, goat cheese tartlets, puff pastry appetizers, holiday tartlets, savory mini tartlets, festive appetizers, Christmas tartlets, goat cheese bites, puff pastry bites, easy holiday appetizers
